

Key Takeaways
- Understanding the basics and types of tape measures is essential for accurate measuring, particularly regarding their components and functionality.
- Proper reading of tape measure markings, including both metric and imperial systems, is vital to avoid miscalculations and ensure precision.
- Regular practice and careful handling are crucial for improving measuring skills and preventing accidents during use.
Tape Measure Basics
A tape measure is primarily used to determine length or distance accurately. Its origins can be traced back to tailoring for clothing alterations, with the Romans being among the first to use a measuring tape-like instrument. Today, tape measures are commonly made from metallic substances and are designed for specific uses, such as carpentry. Accurate measurements require consistent tension and a flat surface to enhance precision.
Keep the tape measure flat and aligned with the straight object for accurate readings. Regular inspection for damage can prevent snapping and ensure reliability.
Mastering the basics of a tape measure is the first step towards advanced measuring techniques, especially when you learn to read a tape measure.
Types of Tape Measures
Tape measures come in various types, each tailored to specific measuring needs:
- Many measuring tapes provide dual graduations, featuring both metric and imperial units, making them versatile for different measurement systems.
- An easy-read tape measure simplifies measurements by using larger, clearer markings, reducing the chances of errors.
- Long tape measures are ideal for large-scale framing and outdoor projects, offering an extended reach for those grand endeavors.
However, basic tape measures may only show whole numbers and varying line sizes, potentially causing confusion in readings. The markings on a tape measure can vary based on measurement types, so choosing the right tape measure for your project can significantly impact your measurement accuracy and efficiency.
Key Components of a Tape Measure
The essential parts of a tape measure include:
- The metal hook
- The case
- The blade
- The markings
The length of the tape measure case is usually found on the side or back of the case, and the number on the tape measure case indicates its length. This is crucial for achieving accurate measurements, especially when measuring from the end of the tape.
The design of the tape blade, featuring a concave shape, enhances its rigidity when extended, making it easier to read and preventing bending during measurement. Understanding these key components allows you to utilize your tape measure more effectively and achieve precise measurements every time.
How to Read Tape Measure Markings
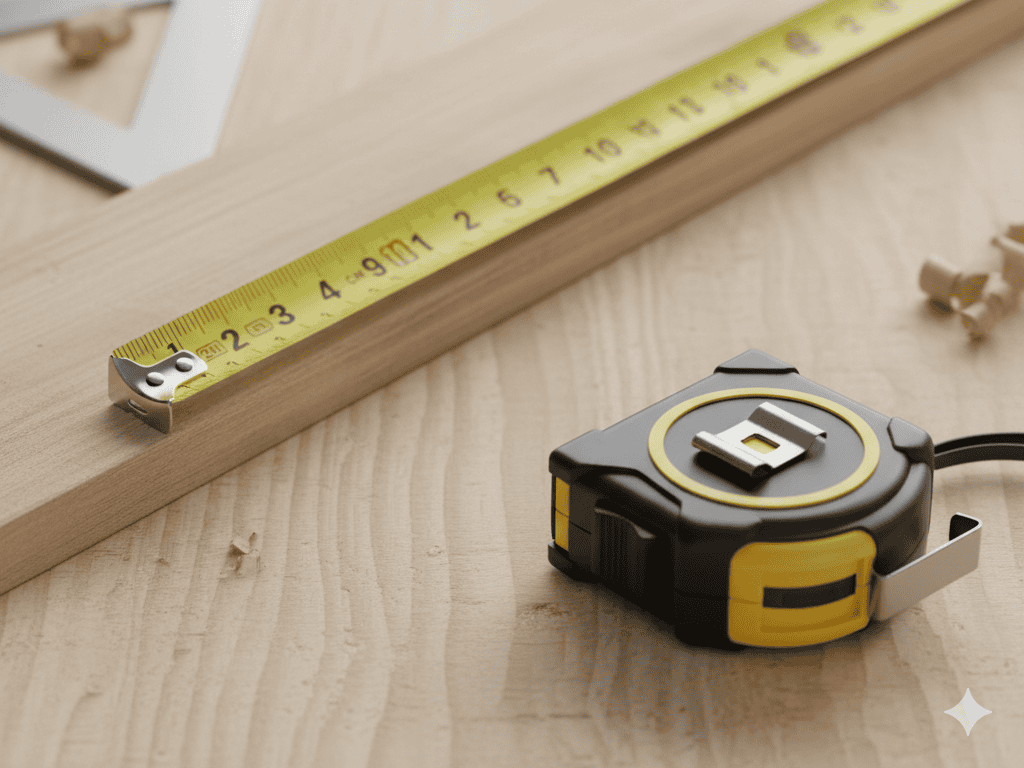
Tape measure markings provide essential reference points for accurate measurements. These markings include:
- Whole numbers for inches
- Fractional divisions for more precise measurements
- Specialized markings such as truss lengths for roofing
- Stud intervals for housing, further aiding in specific tasks.
Knowing how to interpret these markings is vital for precise measurements within a figure range.
Reading Metric Measurements
A metric tape measure uses centimeters and millimeters as its units. Millimeter markings are typically not numbered, but 10mm makes up 1cm, and ‘1m’ on a tape measure indicates the ‘1 meter’ mark.
The metric system offers precise measurements that are easy to comprehend, making them advantageous for accuracy. Simply read the numbers and lines to achieve precision in your measurements.
Reading Imperial Measurements
The large numbers on an imperial tape measure represent whole inches, with the longest marks signifying these whole inches. Shorter marks indicate fractions such as quarter inches and 1/8”, and the 16 line markings on a standard measuring tape represent increments down to one inch of an inch.
The subdivisions follow a halving pattern, making it easier to determine the value of labeled small inch marks by estimating if it’s more or less than half a point inch.
Understanding Fractional Increments
Reading fractional increments can be challenging, especially for beginners. One frequent error is misreading the scale when fractions are involved, leading to inaccurate measurements. Improving accuracy involves practicing reading different fractional measurements repeatedly.
This practice helps in mastering the transition between fractions and achieving precise measurements.
Tips for Accurate Measurements
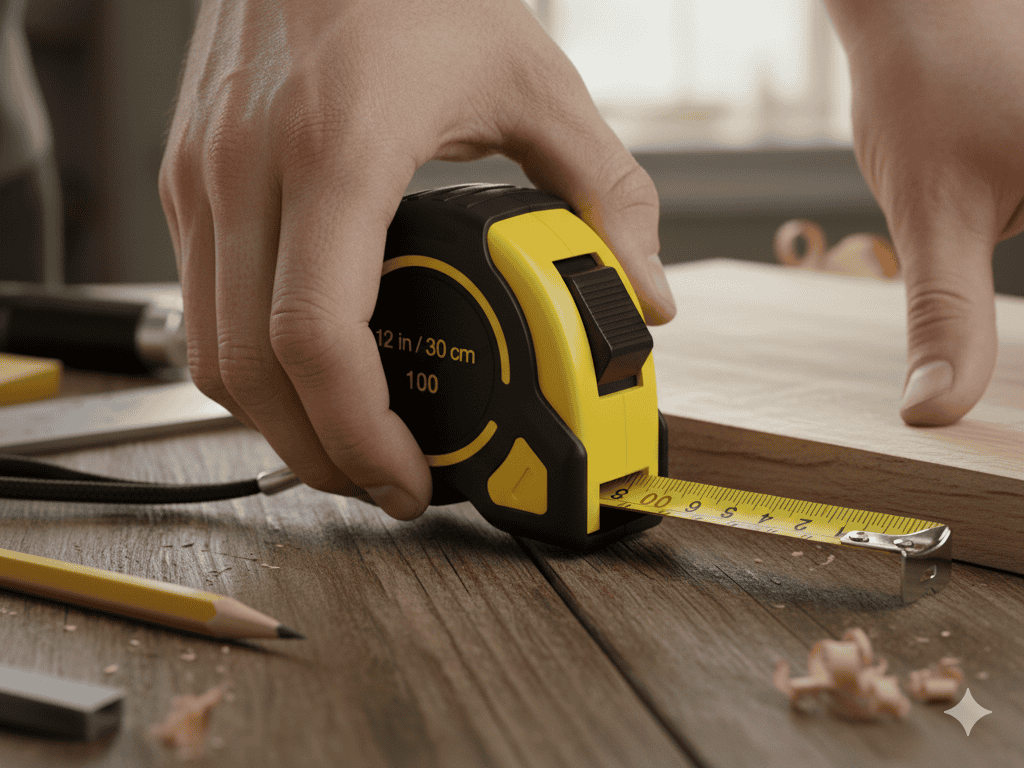
Accurate measurements are key to successful DIY projects. To ensure accuracy:
- Fully extend and lock the tape measure’s blade.
- Keep the tape measure taut to avoid inaccuracies.
- Regular practice can significantly boost both speed and accuracy.
These tips will help you achieve precise measurements every time; simply add this simple guide.
Proper Handling Techniques
Handling a tape measure correctly prevents inaccurate readings and potential injuries. A common mistake is failing to maintain proper tension, leading to errors. Misalignment with the surface can also cause significant inaccuracies.
Control blade retraction speed to avoid accidents by holding near the case’s mouth.
Utilizing the Metal Hook
The hook:
- Facilitates easy measurement by attaching securely to an object’s edge.
- Helps pull the tape taut for better accuracy.
- Moves to compensate for its thickness, ensuring zero starts at the inside edge when pulling and the outside edge when pushing.
Additionally, the hole in the hook tab can be used for securing the tape measure to a nail or screw for better stability during measurements.
Adding Case Length
For precise measurements, account for the case length, especially if the tape doesn’t do so automatically. Subtract the case length from the total measurement when necessary.
For precise measurements, always measure from the end of the tape to the edge of the object if the case length is not automatically included.
Hidden Features of Tape Measures
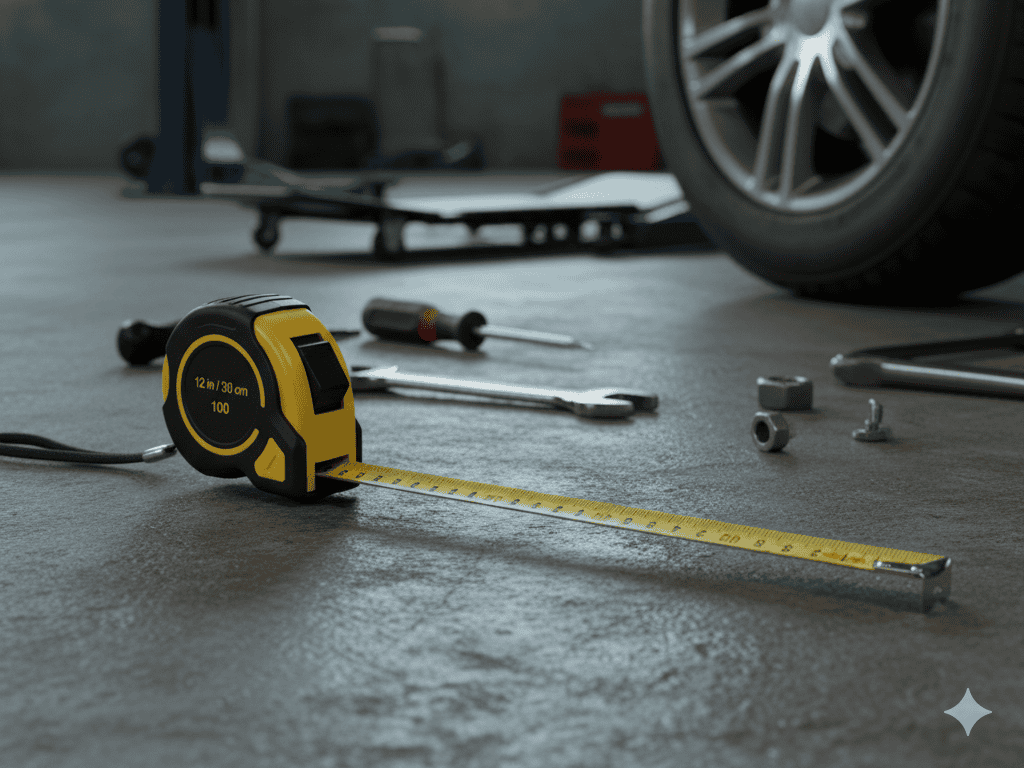
Tape measures often contain hidden features that can significantly simplify measurements and increase accuracy. Some tape measures include markings for measuring from the middle of the tapes, which can help in centering measurements. Understanding and utilizing these features can streamline tasks such as installation and construction, where precise center measurements are crucial.
Knowing these hidden features can enhance efficiency and accuracy in your work using this tool. For more info, explore the various functionalities available.
The Loose Metal Hook
The end hook’s slight looseness compensates for its thickness, ensuring accurate measurements. This design offers versatility, providing precise readings whether the plastic tape is pulled from the inside or outside.
This ensures that measurements are accurate regardless of whether you are measuring the inside or outside edge.
The Hole in the Hook Tab
The hole in the hook tab improves measurement precision and allows easy storage by hanging. It’s useful for securing the tape measure to nails or screws, ensuring stability and accuracy.
Special Markings
Red boxes on a tape measure indicate 16-inch increments for stud space, facilitating easy installation of wall studs. Black diamonds on tape measures are positioned 19.2 inches apart to indicate spacing for engineered floor joists, enhancing construction efficiency.
Knowing these special marking markings can greatly enhance accuracy and efficiency in construction projects.
Safety Tips for Using a Tape Measure
Safety is a priority when using a tape measure. Wear safety glasses or goggles to protect your eyes. Be cautious of the tape measure retracting too quickly, as the sharp edge can cause cuts and potentially injure others nearby.
Secure the tape measure properly, especially when working at heights, to avoid accidents. Keep your hands clean and dry to prevent slipping and potential injury.
Keep a safe distance from others to avoid accidental injury while using a tape measure.
Controlling Blade Retraction
Control the tape measure’s speed as it retracts to minimize sudden snapping. Always retract it slowly and carefully to avoid injury.
Controlling the speed of blade retraction is crucial to prevent accidents during measurement.
Avoiding Sharp Edges
The blade of a tape measure can be sharp and pose a bit of an injury risk. Handle it carefully to avoid cuts and ensure it isn’t blocked or bend during use.
Keeping the blade in good condition will not only protect you but also ensure accurate measurements.
Practice Makes Perfect
Regular practice helps build confidence and accuracy in using a tape measure. Practicing measurements like 1 ⅛”, 11⁄16”, and 15⁄32” can enhance your skills.
Consistent practice and learning from mistakes will improve your measuring skills over time.
Example Measurements
Common practice measurements include reading 1 ⅛ inches, a typical fractional value on a tape measure. Practicing measurements like 2 1/4 inches or 3 5/8 inches can help beginners improve accuracy and confidence.
Common Measuring Mistakes
Beginners frequently misalign the tape measure, causing inaccurate readings. Many, especially beginners, struggle with measurements and often have doubt about their accuracy.
Knowing common errors helps beginners improve their measurement accuracy.
Summary
In summary, mastering the use of a tape measure involves understanding its types and components, reading its markings, and practicing accurate measurement techniques. By incorporating proper handling techniques and being aware of hidden features, you can achieve precise measurements and improve your overall project outcomes. Remember, practice makes perfect, and with time, you’ll be measuring like a pro.
Frequently Asked Questions
How do I read the small lines on an imperial tape measure?
To read the small lines on an imperial tape measure, identify the longest lines for whole inches, and use the shorter lines to determine fractional increments such as 1/4″, 1/8″, and 1/16″. Subdivisions follow a halving pattern, making it simpler to gauge measurements accurately.
Why is there a hole in the hook tab of my tape measure?
The hole in the hook tab of your tape measure is designed to enhance measurement accuracy by allowing it to hook onto nails or screws, and it also facilitates secure hanging for storage.
What are the red and black markings on my tape measure for?
The red markings on your tape measure indicate 16-inch increments for stud spacing, while the black markings show 19.2-inch intervals for engineered floor joists, both of which aid in efficient construction. Understanding these markings can enhance your building project’s accuracy and ease.
How can I avoid inaccurate measurements with my tape measure?
To avoid inaccurate measurements with your tape measure, ensure it is fully extended and taut while maintaining consistent tension and proper alignment with the object. Regular practice and using correct handling techniques will further enhance your accuracy.
Why does the metal hook on my tape measure move slightly?
The metal hook on your tape measure moves slightly to compensate for its thickness, ensuring accurate measurements whether you are measuring from the inside or outside edge of an object. This design feature enhances precision in your work.


