

Clogged drain slowing things down? Knowing how to use a plumbing snake, or drain auger, saves the day when water refuses to flow. This guide walks through every move, from choosing the perfect tool to tidying up once the clog’s gone. It explains stuff clearly, stays practical, and shares smart tips that pros swear by. Dive in to unlock tricks that make fixing drains less of a headache and more of a win.
You’ll find safety tips, troubleshooting help, and specific advice for any kind of drain, whether it’s a stubborn bathroom sink, a hair-filled shower, or a blocked toilet. With clear instructions, confidence-building tips, and a focus on what actually works, you’ll get the job done right, without costly mistakes. Trust Best Hardware Supply to deliver guidance you can count on—straightforward, reliable, and made for real homes like yours.
Understanding the Basics: How to Snake a Drain and When to Use One
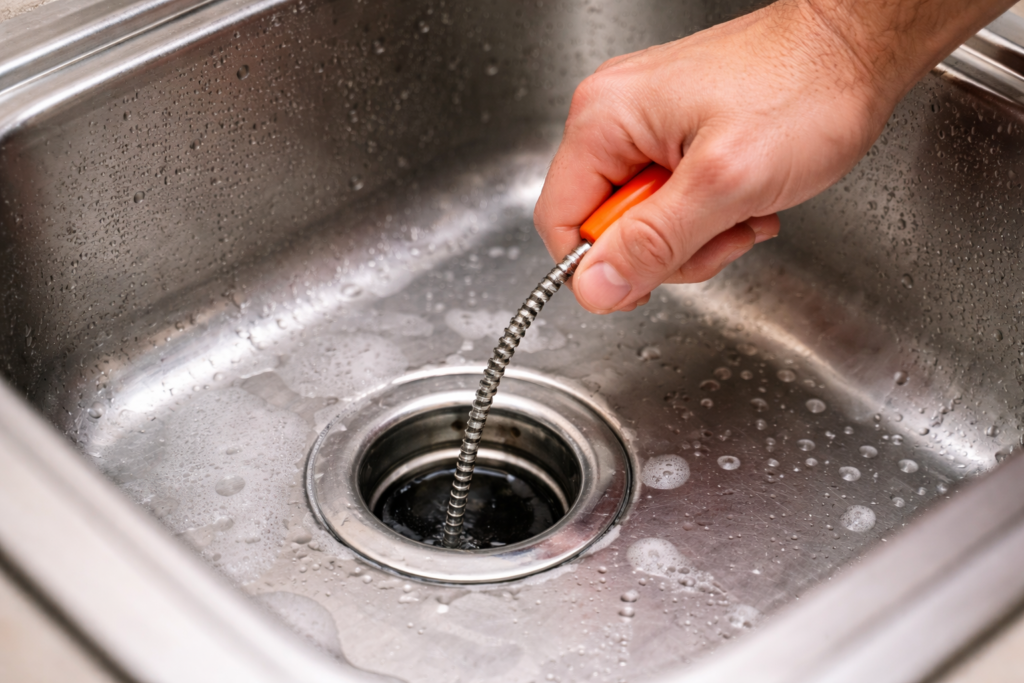
Snaking a drain means using a flexible metal tool—a plumbing snake or drain auger—to break up or pull out blockages inside your pipes. It’s the go-to move when common clogs form from hair, food, grease, or a dropped item, and plunging doesn’t solve the problem. Most household drains, like those in the kitchen, bathroom sinks, showers, and even toilets, can be cleared with the right snake and know-how.
The basic plumbing snake is made up of a long steel cable with a coiled tip and a handle or crank. Manual snakes use hand power to turn and push, while larger electric models may have built-in motors. The idea is simple: feed the cable into the blocked drain, twist to grab or break through the clog, then pull the mess back out or flush it away with water.
How do you know when a snake is the right tool? Watch for slow draining, gurgling, or water backing up. Persistent blockages that won’t budge with a plunger are good candidates for snaking. If all the drains in your house are backing up at once, though, or you’re dealing with main sewer line issues, it’s time to call a pro. But for single drains? Having a snake handy saves time, money, and frustration—and once you know the basics, it’s a tool you’ll reach for again and again.
Step by Step Tutorial: How to Snake a Drain for Beginners
Tackling a clogged drain yourself might seem overwhelming at first, but a step-by-step approach makes all the difference. Think of this as your DIY roadmap—designed specifically for first-timers and folks looking to sharpen their snaking skills. Each phase, from getting your stuff ready to properly using the tool and cleaning up after, gets its own spotlight in the sections below.
Following these steps isn’t just about finishing the job—it’s about avoiding rookie mistakes, staying safe, and making sure your pipes don’t suffer in the process. With clear directions and explanations for each stage, what once looked like a messy, mysterious project becomes totally manageable, even for someone who’s never touched a plumbing snake before.
Ready to stop that slow drain for good? Let’s break the process down, keep it as simple as possible, and get you rolling with the confidence to handle just about any household clog.
Prepare Your Tools and Area
- Gloves (preferably rubber): Essential for keeping your hands clean and protecting you from grime, bacteria, or sharp debris inside the drain.
- Bucket and old towels: Place these under the drain to catch dirty water or gunk that might spill out while snaking. They make cleanup much less of a headache.
- Plumbing snake or drain auger: Make sure your tool is the right style and length for the type of drain you’re working on—shorter for sinks, longer for floor or main line drains.
- Flashlight: Helps you see down the drain opening, spot the clog, or guide the tip of the snake past tricky parts like the P-trap.
- Protective surface covers or mats: Lay these down if you’re working indoors, especially on carpeting or sensitive flooring, to prevent stains or scratches from drips and dropped tools.
Instructions for Use: Inserting and Operating the Plumbing Snake
- Start feeding in the cable: With your gloves on, gently guide the snake’s tip into the drain opening until you feel it reach the first curve or obstruction. Go slowly to avoid damaging the pipe or getting the snake stuck right off the bat.
- Advance the cable by hand (manual models) or trigger (electric models): Push forward using steady, gentle pressure. Don’t force it, especially if you hit resistance at bends like the P-trap in a bathroom sink. For manual snakes, twist the handle while pushing to help the tip work around corners.
- Rotate and break up the clog: Once you feel a sudden stop or resistance that doesn’t move with light pressure, you’ve likely hit the clog. Begin turning the handle (or activate the motor, if electric) to burrow into the blockage, break it up, or snag it.
- Watch for signs you’ve broken through: When the cable suddenly moves forward more easily or you hear shifts in suction, you may have cleared the clog. Slowly pull the snake back—sometimes debris comes out with it, so keep your bucket ready.
- Flush and test: Run hot water (for sinks and showers) or flush (for toilets) to make sure water flows freely and there aren’t bits of clog left. If the drain is still slow, repeat as needed, but avoid brute force—if resistance won’t budge, there could be a bigger problem deeper in the line.
How to Snake Different Types of Drains: Sink, Shower, Toilet, and Floor Drains
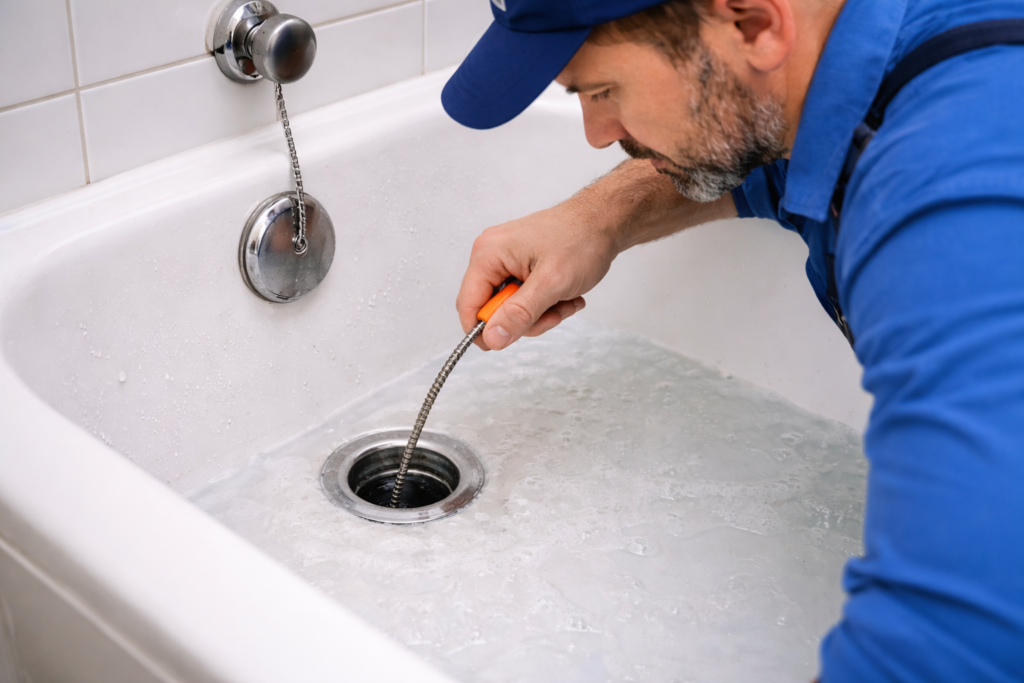
No two clogs—or drains—are exactly the same, so your snaking approach has to change depending on what you’re up against. Bathroom sinks often have tight curves that catch hair and soap, while showers are notorious for deep-set hairballs. Toilets, on the other hand, require a special touch so you don’t scratch up the porcelain or flood your bathroom in the process.
This section covers the unique steps and best practices for each type of household drain. By zeroing in on places where clogs typically hide—like the P-trap in your sink or right below a shower strainer—you avoid unnecessary disassembly and get right down to business. There are also tips on using the right tool for toilets to avoid damage and quickly restore flow.
Mastering these differences is key. You’ll solve problems faster, reduce your risk of mistakes, and give your fixtures the long, happy life they deserve. Check out the sections below to get the lowdown on each kind of job.
- Remove the sink stopper: Pull out or unscrew the sink stopper to access the drain. If it’s stuck, back out any mounting hardware beneath the sink.
- Guide the snake through the P-trap: Gently feed the snake cable into the drain, angling it carefully to get through the tight U-shaped bend of the P-trap where most clogs lurk. Go slowly—forcing it can kink the cable or crack the pipe.
- Feel for the clog: Once past the curve, if you feel resistance, twist the handle and push gently to break up the blockage or grab it.
- Minimize water spillage: Place a bucket directly under the P-trap in case of leaks, and have towels ready for drips when you retract the snake.
- Test and repeat if needed: Run water to check for proper drainage. If it’s still slow, repeat the process, but don’t overdo it—pipes under sinks can be fragile.
Shower Drain Snaking: Hair Clog Removal Without Damage
- Remove the drain cover: Use a screwdriver to lift the shower drain grate or pop-up cover, giving yourself space to work and letting you see blockages near the top.
- Insert a coiled-tip snake: Use a small, flexible snake with a coiled end to snag hair and gunk. Push the tip gently down to bypass the initial pipe curve.
- Rotate to catch hair: Twist the handle slowly as you feed the cable, letting the coil wrap around tangles of hair and pull them loose.
- Avoid scratching surfaces: Keep the cable centered and work carefully to avoid scraping acrylic tubs or tile floors. Place a cloth around the drain edge for extra protection if needed.
- Retrieve debris and flush: Pull the cable out carefully, remove clumps of hair, and run hot water to ensure the drain is fully clear before replacing the cover.
Toilet Snaking: Using a Closet Auger for Safe Results
- Pick a closet auger: Use a special toilet snake (closet auger) made with a protective rubber sleeve to prevent scratching the porcelain bowl. This tool is designed specifically for toilets, unlike standard sink snakes.
- Insert the auger into the bowl: Position the curved tip into the toilet’s opening and begin advancing the cable by cranking the handle, pushing gently until you reach the blockage.
- Break up or hook the clog: Rotate the handle firmly once you’ve hit resistance. The tip is designed to either loosen solids or hook and pull out the obstruction.
- Avoid flooding: Work slowly. If water isn’t draining at all, stop and remove some water with a cup before snaking to prevent overflow.
- Repeat and test: After retracting the auger, flush the toilet to check for normal flow. Persistent clogs might need a second pass, but don’t force the cable if you keep hitting a hard stop.
Types of Drain Augers: Manual Versus Electric Models
- Manual (hand-cranked) augers: Best for most household drains—sinks, tubs, and showers. Operated by turning a handle, they give good control and reduce the risk of pipe damage. Pros: Affordable, simple, less risk. Cons: Limited reach and power for tough, deep clogs.
- Electric (motorized) drain snakes: Use battery or plug-in motors to turn the cable at higher speed. Ideal for larger, tougher, or deeper clogs—like main sewer lines or big floor drains. Pros: Powerful and fast. Cons: More expensive, riskier for pipes if used carelessly, can splatter more debris.
- Flat tape augers: Special flat-metal versions suited for narrow pipes or very tight bends under sinks. Offer less clog-busting power but fit where a round cable snake can’t.
- Toilet/closet augers: A specialty tool with a curved guide and protective rubber sleeve, built to snake toilets without damaging the bowl.
- Choosing the right model: Beginners should stick with manual snakes for most home jobs. Only upgrade to electric if you’re confident, or if deep or repeated clogs keep coming back.
Toilet-Specific Augers and Specialty Plumbing Snakes
Closet augers and specialty plumbing snakes are made for jobs standard drain snakes can’t handle. Closet augers feature a short, rigid shaft and protective covering to slip safely through the curves of a toilet without scratching the porcelain. The cable is just long enough to reach typical toilet clogs, without coiling up in the bowl or getting stuck.
Some drains—like urinals or antique fixtures—need ultra-flexible or narrow snakes to reach deep into odd bends. Using the wrong tool can damage fixtures or simply won’t reach the clog. Choosing the right specialty snake lets you clear tough blockages quickly and safely, making them a must-have for bathrooms and tricky plumbing setups.
Choosing the Right Plumbing Snake for Every Drain
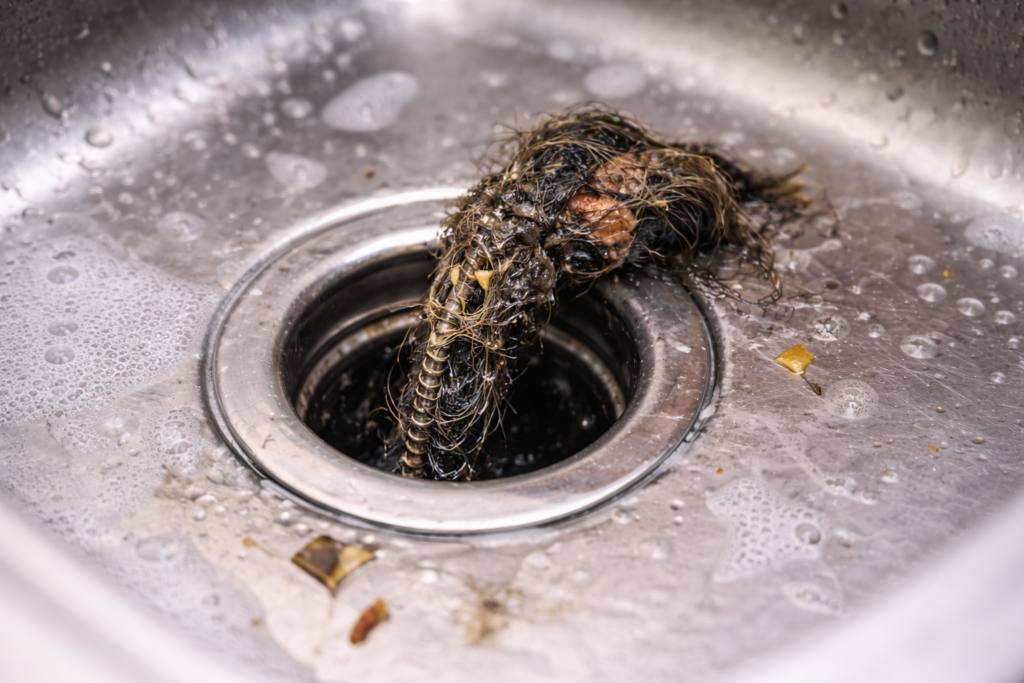
Picking the right plumbing snake isn’t just a matter of grabbing whatever’s on hand—the shape, size, and flexibility of the tool should match the type of drain and where the clog is hiding. If you’re working on a kitchen sink, a small-diameter, hand-cranked snake is perfect. For showers and tubs, a longer, flexible cable might be needed to reach deep blockages caused by hair and soap scum. Floor drains and main lines may call for an electric snake or a bigger cable that can tackle stubborn debris or tree roots.
Each tool has features designed for different situations, and using the wrong one can make a simple clog a major headache. To help you make sense of your options, the next section spotlights reliable models—including the Empire D41020N—and explains what’s worth looking for depending on your fixture. Investing in the right snake now means fewer surprises and less risk of damaging your pipes or fixtures later.
Product Spotlight: Empire D41020N and Top-Rated Plumbing Snakes
- Empire D41020N: A flexible, medium-length manual cable with a sturdy handle and rust-resistant finish, ideal for kitchen and bathroom sinks.
- RIDGID PowerSpin+: Combines manual and drill-powered capability for versatile use; its coiled tip grabs hair and debris effectively.
- Liberty Hand Auger: Easy-to-grip, lightweight design for quick fixes on minor clogs in sinks and tubs.
- Cobra Toilet Auger: Designed with a built-in sleeve to protect porcelain, making it the top pick for toilets.
- Features to consider: Look for flexibility, rust-proof construction, ergonomic handles, and tips designed for the specific clog you’re fighting. Models with easy coil-up and storage are a bonus for long-term use.
Safety Precautions and Best Practices for Drain Snaking
Clearing a drain with a snake is fairly straightforward, but going in unprepared can leave you with scraped hands, splashed eyes, or even a damaged pipe. It pays to start every job with the right safety gear and a careful, steady approach. Even the most experienced plumbers stick to the basics: gloves on, tools in good shape, and their eyes protected from gunk flying back out of the drain.
Beyond personal safety, a little extra care also protects your plumbing and fixtures. Sinks, tubs, and especially toilets can get scratched up if you rush or use the wrong tool. Bends in the pipe—like P-traps and toilet bends—are where most of the action takes place. Taking it slow and knowing when to stop can be the difference between a job done and a repair bill.
The next section rounds up the best snaking tips for staying safe and avoiding costly mistakes. By pairing good habits with practical advice, DIYers of all levels can keep the job running smoothly and the plumbing in top shape.
Drain Snaking Tips for Avoiding Pipe and Fixture Damage
- Go slow around pipe bends: Ease the snake through curves like the P-trap; forcing it can kink the tool or crack a pipe.
- Keep cables centered: Try to guide the snake down the middle of the drain to avoid scraping up porcelain or metal surfaces.
- Don’t use brute force: If resistance won’t give way after a few tries, stop and reassess—too much pressure can break pipes or jam the cable.
- Use the right tool for the job: Closet augers for toilets, coiled tip snakes for showers—using the correct type helps avoid damage and gets results faster.
- Check pipe material first: Older plastic or corroded metal pipes need a gentler touch and softer, flexible snakes.
Troubleshooting: Common Problems When Snaking a Drain
No drain job goes perfectly every time. Sometimes the cable just won’t budge, or that stubborn clog laughs in the face of even your best effort. When you’re face-to-face with a stuck snake or a blockage that won’t budge, it’s easy to get frustrated or start muscling the tool—usually a recipe for disaster. Knowing a few tried-and-true troubleshooting moves keeps things moving and prevents accidents.
This section drills into practical fixes for the most common headaches: cables getting stuck, persistent or recurring clogs, and what do to when your tool comes back as messy as it went in. With the right moves and a little patience, you can wrap up the job and keep your snake in working shape for years to come.
As you cover these bases, you’ll be set for success not just this time, but next time—and maybe even the time after that.
Dealing With Stuck Cables and Stubborn Clogs
- Gently retract and refeed: If the snake gets stuck, pull back slightly and try advancing at a different angle. Wiggling often clears up snags.
- Rotate, don’t force: Resist the urge to yank! Turn the handle to loosen the clog or free the cable, but don’t use excessive force.
- Flush with water: Sometimes running water after an initial pass washes away loosened debris, making the next attempt easier.
- Try a different snake: If the blockage is deep or solid, a longer or heavier-duty snake might do the trick—otherwise, it might be time to call a pro.
- Know when to stop: If repeated efforts just make things worse, stop and consider expert help to avoid causing pipe damage.
Cleaning and Maintaining Your Drain Snake After Use
- Rinse the cable thoroughly: Run water over the snake to remove loose debris. For kitchen or greasy clogs, use a small brush and mild detergent to scrub off residue.
- Disinfect and dry: Wipe down the cable and handle with a disinfectant or diluted bleach solution to kill bacteria, then dry everything completely with towels to prevent rust.
- Rewind and coil carefully: Coil the cable back into its housing or store it in wide, smooth loops to avoid kinking or tangling, which makes future jobs harder.
- Inspect for damage: Before putting the snake away, check for bends, cracks, or rust on the cable and handle. Replace any parts if needed.
- Store in a dry, accessible place: Keep your snake off wet floors and out of direct sunlight—cool, dry storage keeps the tool in tip-top shape for next time.
When to Call for Professional Service or Try Drain Snake Alternatives
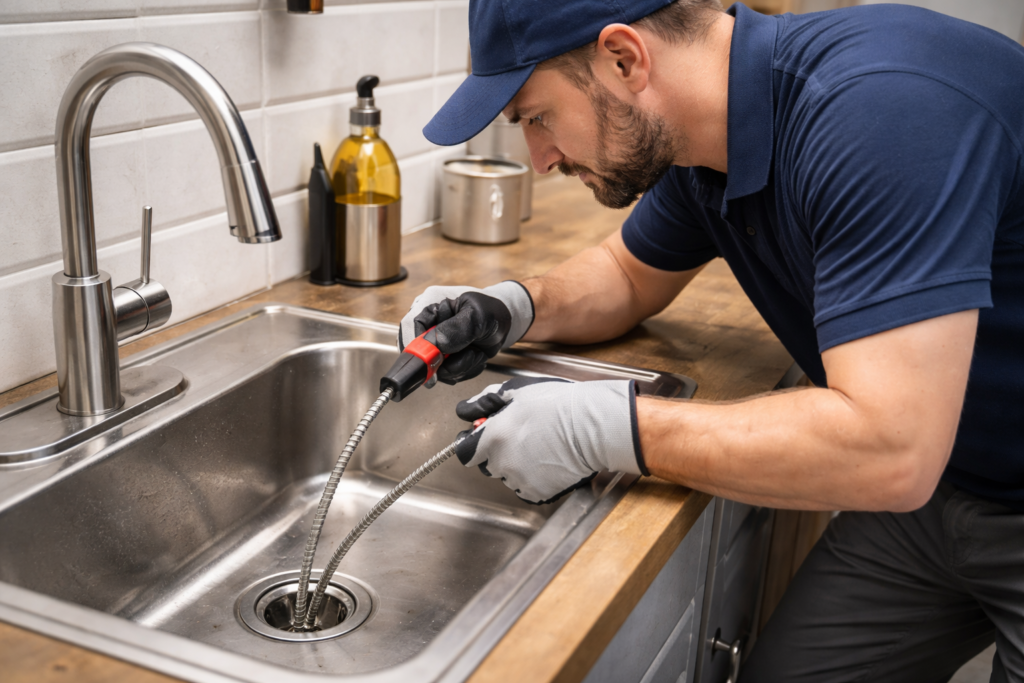
Messing around with a plumbing snake can fix a lot of stubborn clogs, but it’s important to know when it’s time to put down the tools and call in a professional plumber. If you’ve tried snaking and that clog keeps coming back, or you’re facing more than one slow drain at once, you might be dealing with something deeper—like a main sewer line problem.
Don’t ignore early warning signs. If you hear gurgling from your drains, notice nasty odors, or see the water backing up across multiple fixtures, that’s more than just a regular blockage. These are signals that DIY tricks may do more harm than good, and you could risk flooding or even pipe damage if you go further.
If snaking doesn’t clear the drain, there are a few alternatives to try before making the call. Plungers can help with minor blockages, especially in toilets and showers. Chemical cleaners exist, but use caution—overuse can eat away at pipes over time. For really tough clogs, professional-level options like hydro-jetting blast out buildup efficiently but require specialized equipment.
Bottom line: Knowing when to call in a professional isn’t just about saving yourself time and frustration—it’s about protecting your plumbing and your wallet. Sometimes the smart move is knowing when to step back and let the experts handle those deeper or recurring clogs.


